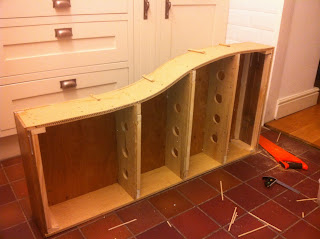
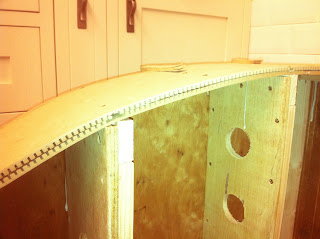
Back in the kitchen workshop, (only available when my better half is out of the house) and as with the last board, I started by gluing and screwing the end rails and the straight back rail to the baseboard top.
While cutting the wood I allowed an extra millimetre clearance should any discrepancy's happen, in the end the MDF soaked up the PVA and expanded quite a lot, I managed to hold most of the expansion screwing small batons over the relevant places. Where I was not able to do this the deviance from the original curve has only been 1 or 2mm at most. At leaset all of this will be covered by the final profile board! Next time I will experiment with just one layer of bendy MDF as I don't think the rigidity of the overall structure will be compromised too much.
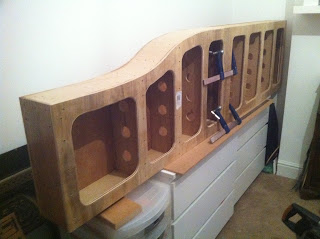
Next the bottom board was glued and screwed in place and again access holes were cut using the jigsaw. The two boards were then taken back up to the hobbies room and clamped together ready to drill the holes for the metal inserts.
I need to decide which surface to build the track on. Chris Nevard, in his recent article in Model Rail, recommends making the track directly on the top of the baseboard by drawing the track layout on the board, gluing the sleepers down and once dry, soldering the track in place. Another method I have used in conjunction with Alan French at Cardiff MES, is to stick the sleepers to the printed track plan with double sided tape and to solder the track to the sleepers, once assembled pulling away the paper backing and pinning & gluing the whole lot down.
Again, writing the blog and airing various ways of doing things really puts things into perspective and Chris's method starts to seem much more simple and straight forward!!
This is my first layout, and while having helped to make a couple of points at the club, I don't have much experience of copper clad construction, so please do comment if you have any top tips or any other methods of producing the copper clad track work.
.JPG)


.JPG)
No comments:
Post a Comment